Starting cannabis from seed is more straightforward than most growing guides make it seem. You do not need a laboratory setup or years of experience. What you need is good genetics, the right environment, and some patience. Here is the full process from a dry seed to harvest-ready plant, with specific details instead of vague advice.
Choosing and Germinating Seeds
Buy seeds from a reputable seed bank.
Look for feminized seeds if you do not want to deal with identifying and removing male plants (which is most people for a home grow). Autoflower seeds are the easiest option for beginners because they flower based on age rather than light schedule, and they finish in about 70 to 90 days from seed.
The simplest germination method is the paper towel technique. Place your seeds between two damp (not soaking wet) paper towels on a plate.
Cover with another plate to keep it dark and humid. Keep it at 75 to 80 degrees Fahrenheit. Check every 12 hours. Most seeds crack open and show a white taproot within 24 to 72 hours. Some slower varieties take up to 5 days.
Once the taproot is about half an inch long, carefully plant the seed about half an inch deep in a small pot (solo cup with drainage holes works fine) filled with moist seed-starting mix or light potting soil.
Place the seed with the taproot pointing down. Cover lightly and keep the soil moist but not waterlogged.
Seedling Stage (Weeks 1 to 3)
Seedlings need gentle light, warmth, and humidity. Keep your LED light at about 24 to 30 inches above the seedlings, running at 50% power if your light has a dimmer. Temperatures should stay between 72 and 80 degrees Fahrenheit. Humidity of 65 to 70% is ideal for seedlings.
Water very lightly around the base of the seedling.
Overwatering at this stage is the number one killer of seedlings. The soil should feel damp, not soggy. Water every 2 to 3 days at most, and let the top of the soil dry slightly between waterings.
Do not add nutrients yet. Seed-starting mix and quality potting soil have enough nutrition for the first two to three weeks. Adding nutrients too early can burn the delicate roots.
You will see the first set of round leaves (cotyledons) emerge, followed by the first set of single-blade true leaves, then three-blade leaves, and eventually five and seven-blade leaves as the plant matures.
Vegetative Stage (Weeks 3 to 8)
Once your plant has four to five sets of true leaves, it is solidly in veg. This is where growth really takes off. Transplant from the solo cup into a 3 to 5 gallon pot when roots start poking out the drainage holes.
For photoperiod plants, run your lights on an 18/6 schedule (18 hours on, 6 hours off).
Autoflowers can stay on 18/6 or 20/4 through their entire life cycle.
This is when you start feeding nutrients. Begin at quarter strength of whatever nutrient line you are using and increase gradually. Cannabis in veg needs higher nitrogen relative to phosphorus and potassium. A typical N-P-K ratio for veg is something like 3-1-2.
Water when the top inch of soil feels dry, or when the pot feels noticeably lighter when you lift it.
In a 5-gallon pot, this is usually every 2 to 4 days depending on plant size and temperature.
Keep temperatures between 70 and 82 degrees Fahrenheit. Humidity can drop to 50 to 60% during veg. Good airflow from a small oscillating fan strengthens stems and helps prevent mold.
Flowering Stage (Weeks 8 to 16)
For photoperiod plants, switch your light schedule to 12/12 (12 hours on, 12 hours off) to trigger flowering.
Autoflowers will start flowering on their own around week 4 to 6, regardless of light schedule.
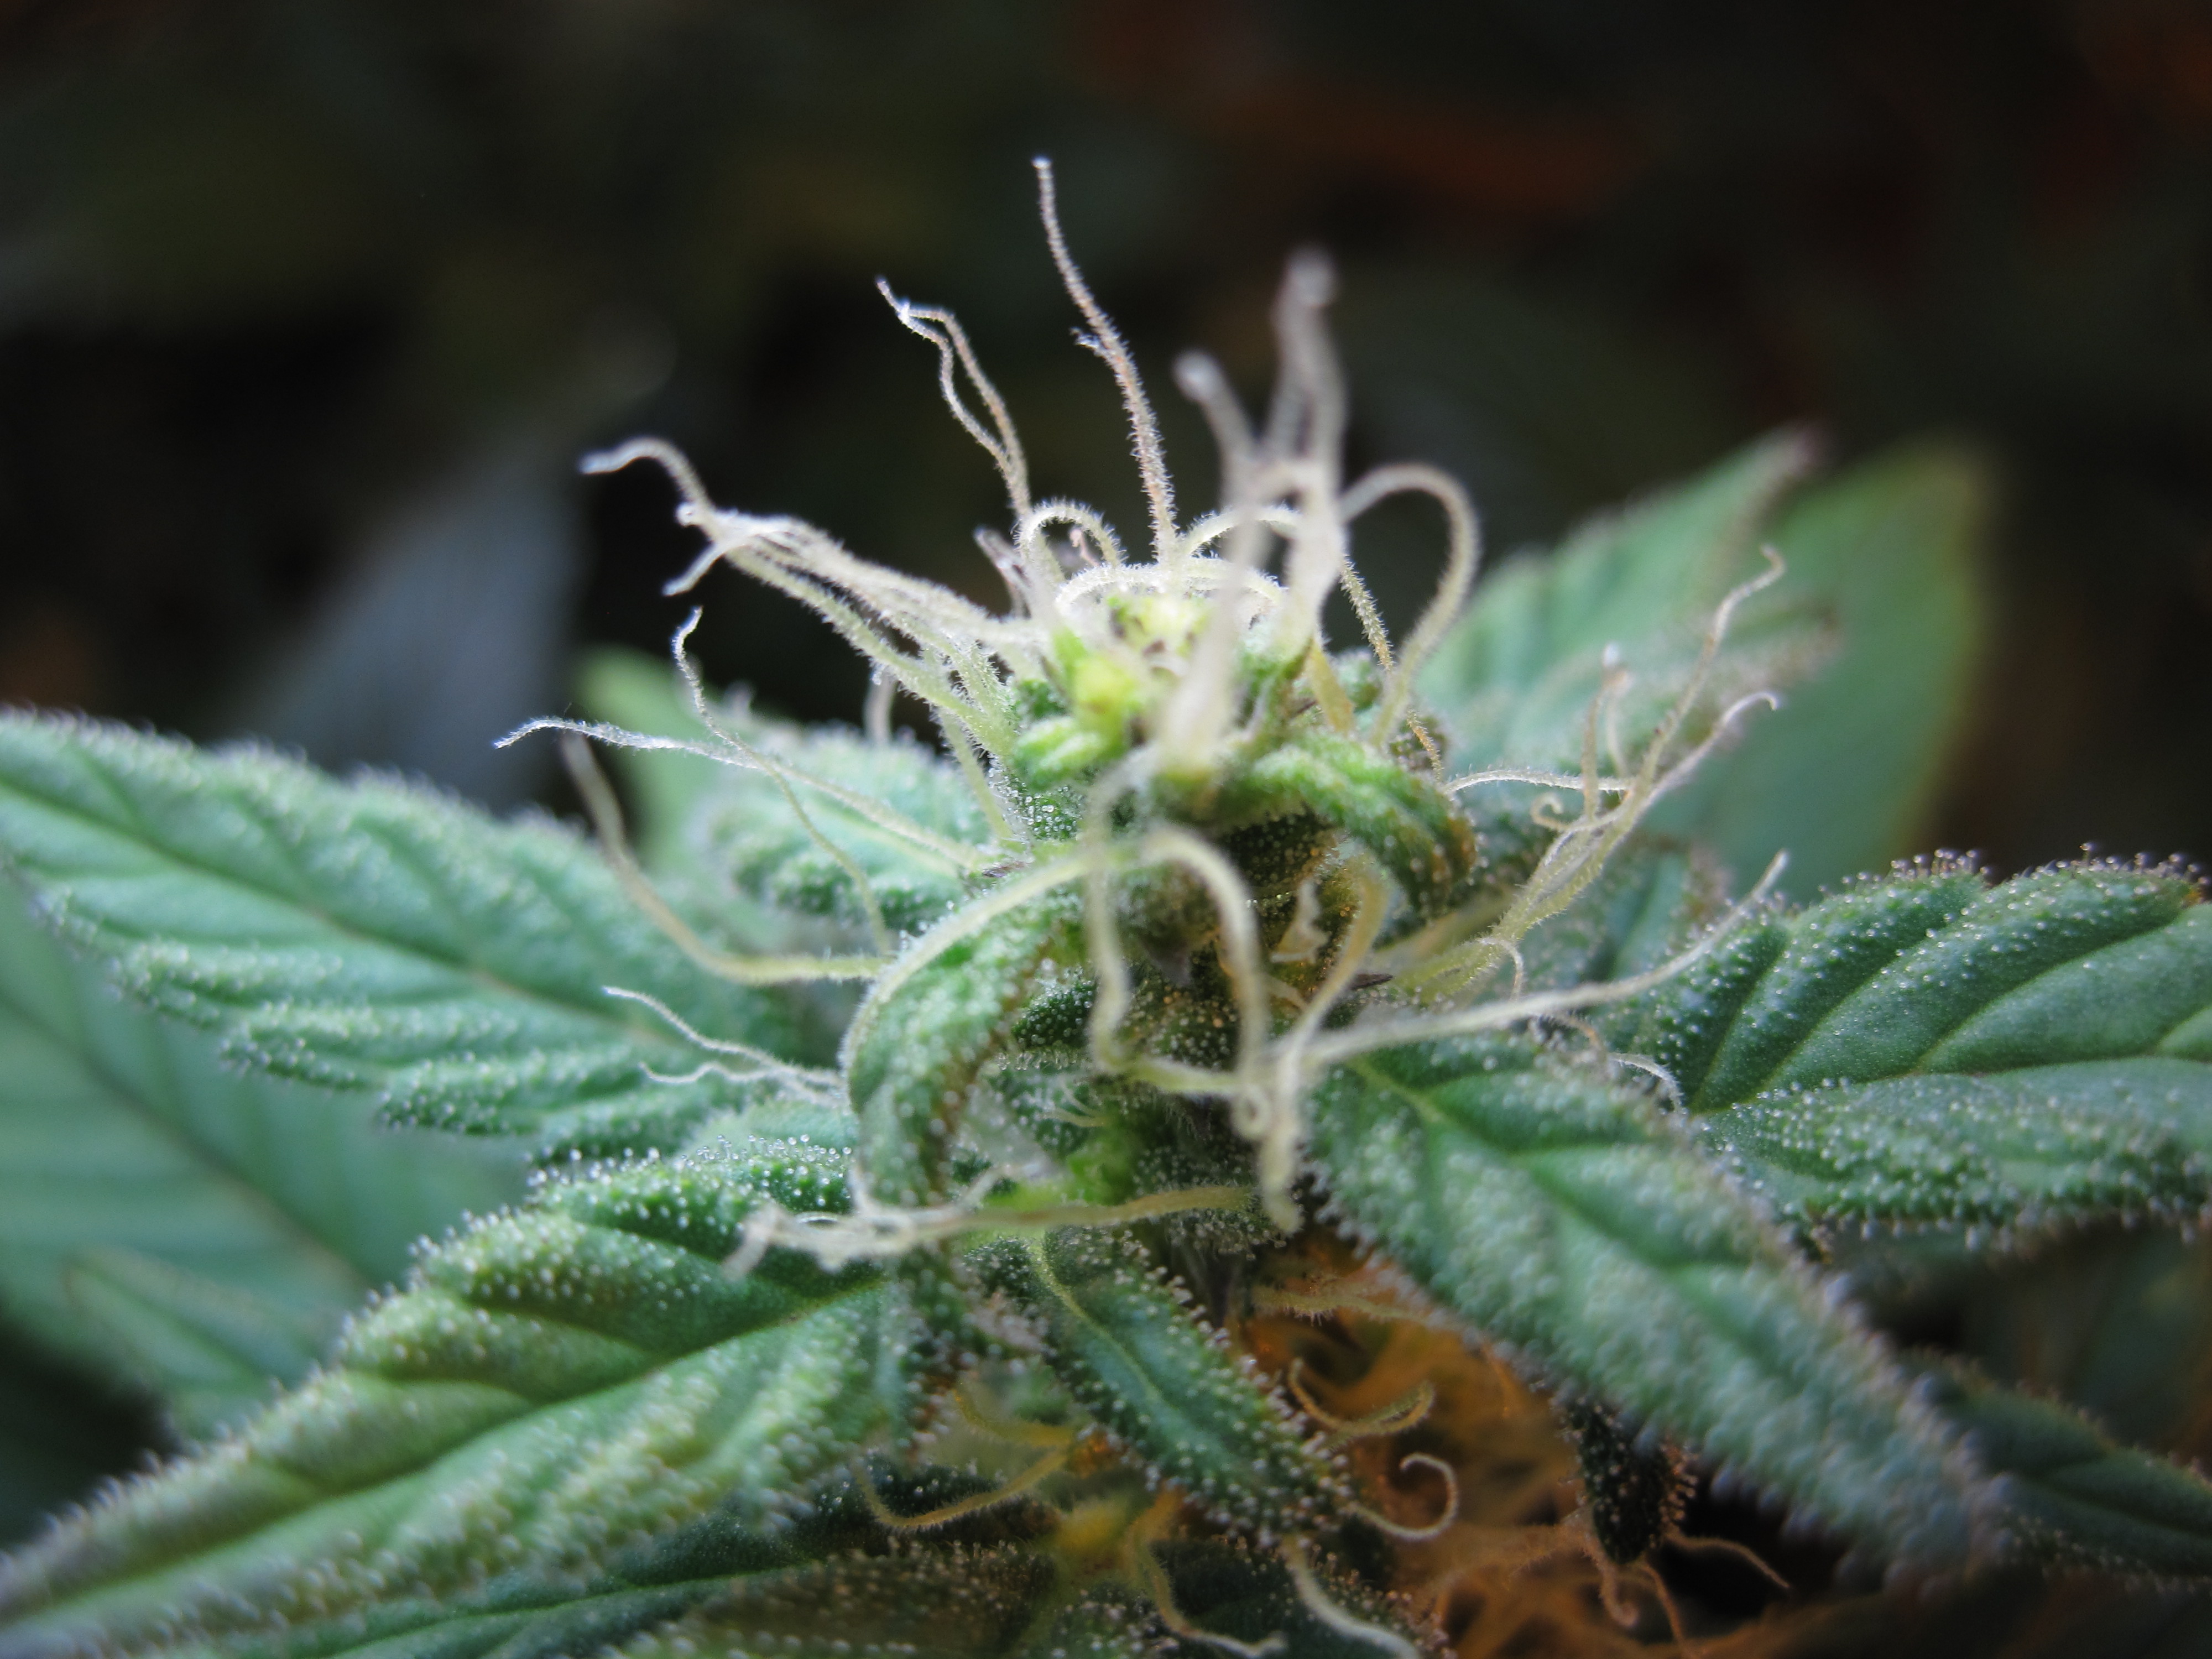
You will see the first signs of flowers (white pistils at the nodes) within one to two weeks of flipping to 12/12. The plant may stretch to nearly double its height in the first two weeks of flower, which is normal.
Switch to a bloom nutrient formula with higher phosphorus and potassium and lower nitrogen.
A typical flower N-P-K ratio is 1-3-2. Continue increasing nutrient concentration gradually through mid-flower, then taper off in the last two weeks.
Humidity should drop to 40 to 50% during flower to reduce the risk of bud rot. Temperature can stay around 68 to 78 degrees. Some growers drop nighttime temperatures by 5 to 10 degrees in late flower to bring out purple colors in certain strains.
Harvest Timing
Harvest timing has a real impact on the effect of your cannabis. Check the trichomes (tiny mushroom-shaped resin glands on the buds) with a jeweler's loupe or digital microscope ($15 to $20 online).
When trichomes are mostly clear, the plant is not ready. When they are mostly cloudy/milky white with about 10 to 20% amber, that is the sweet spot for most people. More amber means a more sedating effect. Harvesting when mostly cloudy with very little amber gives a more energetic effect.
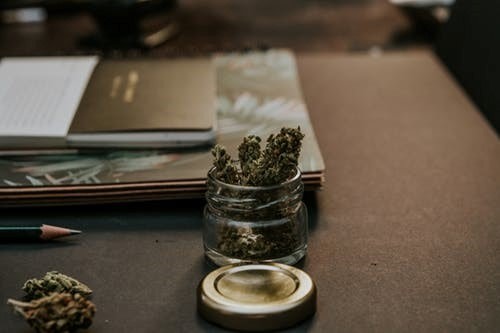
Cut the whole plant or individual branches, trim the fan leaves, and hang upside down in a dark room at 60 to 65 degrees Fahrenheit and 55 to 60% humidity for 7 to 14 days. When small stems snap instead of bending, the buds are dry enough to cure in glass mason jars. Open the jars for 15 minutes twice daily for the first two weeks, then once daily for another two weeks. After that, the buds are cured and ready.